
How to Protect Your Camera in Water and Wet Conditions
Water is one of the most common hazards in adventure photography and one of the most misunderstood. Most photographers think about water protection in binary terms: either you're underwater and you need a housing, or you're on land and you're fine. The reality is more nuanced than that, and the gap between those two scenarios is where most gear gets damaged.
After years of shooting surfing, kayaking, whitewater rafting, and coastal work across all seven continents, here's how I actually manage water and wet conditions in the field.
Quick Note: If you find this article helpful, the idea come from The Adventure Photographer's Playbookand it costs $10. Why so cheap? The goal is to help as many new to mid level photographers as possible go from nothing to getting booked in 18 months. If that is you, check it out.
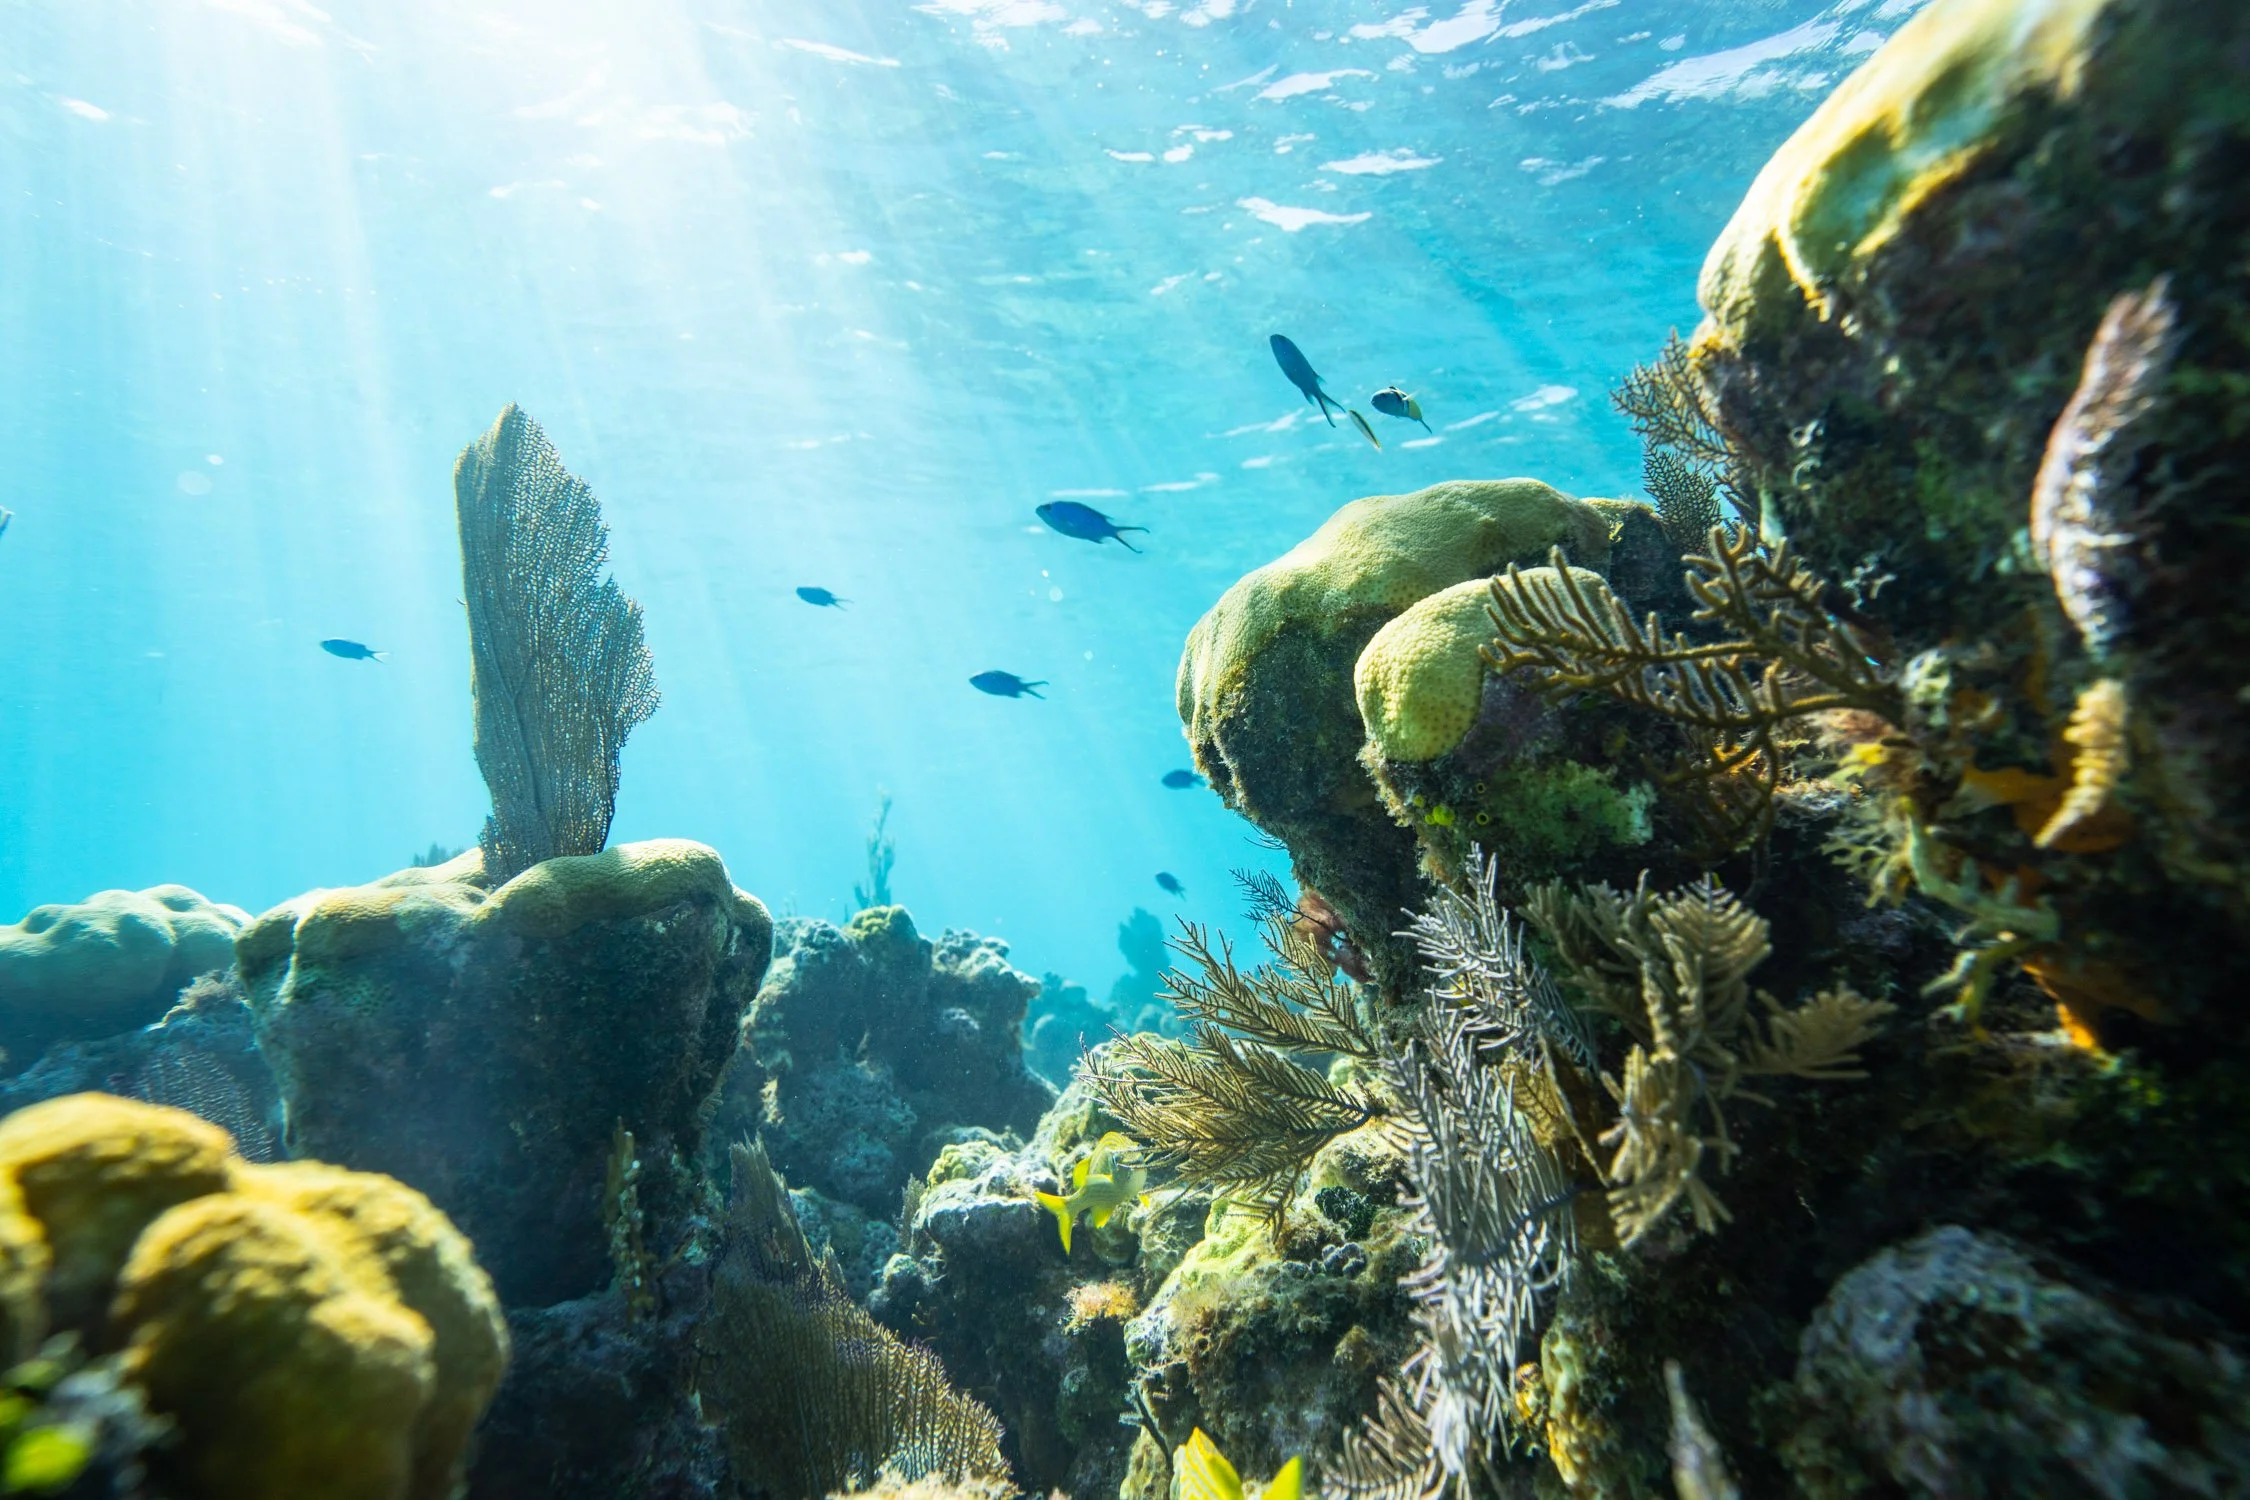
If You're In the Water, You Need a Housing
There's no workaround for this one. If you're shooting surfing, kayaking, underwater photography, whitewater, or anything else where the camera is going to get submerged or hit by significant water, you need a dedicated water housing. Full stop.
I use Aquatech housings. I've tried a lot of different options over the years and Aquatech has been the most reliable for the kind of work I do. The entry level housings are essentially point and shoot once the camera is sealed inside. No access to zoom, no back controls, no ability to adjust settings on the fly. You set everything before the camera goes in, switch to auto, and work with what you have.
If you're doing serious water work regularly, the investment in a higher end housing is worth it. The better Aquatech models give you a back plate with access to key controls, interchangeable ports for different lenses, and a zoom mechanism that actually functions underwater. That level of control changes what you're able to capture significantly.
Here’s What Lives In My Gear Bag:
Sony a7r4; my work horse
Sony a7s3; mostly for video work like solo-filmmaking documentary
Tamron 16-30; probably my favorite lens right now
Tamron 28-75; I think this is the best all around focal length
Tamron 70-180; I don’t use this a ton, but it’s a great lens
If You're Around Water, You Need a System
Shooting around water without being in it covers a much wider range of scenarios. Rain. Waterfall mist. Boat spray. Ocean shore work. A kayaking shoot where you're on the bank rather than in the water. Each of these has different risk levels and different solutions.
For rain and general wet conditions, a rain cover is the simplest answer. Most camera manufacturers make them for their bodies and they work well for moderate rain. For heavier conditions or longer exposure to moisture, I've used a basic plastic bag or a ziplock over the camera with a filter taped or fixed to the front so I can still shoot through it. It sounds improvised because it is, but it works and it's saved gear on more than one shoot.
The important thing is having something. The worst outcome is getting caught in unexpected rain with no protection and making a call between shooting and protecting your gear. That's a decision you don't want to be making in the moment.

Manage Moisture Inside Your Bag
Water doesn't just damage cameras from the outside. Moisture that builds up inside your camera bag over hours or days in a wet environment can cause just as much damage as a direct hit. Condensation, humidity, and ambient moisture all accumulate inside a closed bag and create an environment that's hard on electronics over time.
Silica gel packets are one of the simplest and most effective solutions. Keep a handful in your camera bag on any wet or humid shoot. They absorb ambient moisture and slow the buildup of condensation inside the bag. I've also kept small containers of rice in my bag in extremely humid environments for the same reason. It sounds like an old wives tale but the physics are real and it works.
On multi-day wet projects, open your bag and air it out whenever conditions allow. Give everything a chance to dry. Check your gear at the end of each day for any signs of moisture intrusion. Catching a problem early is infinitely better than discovering it when you pull out your camera on day four and it won't turn on.
The Cold and Wet Combination Is the Worst
Cold and wet together is the most dangerous condition for camera gear. Cold air holds less moisture, which means rapid temperature changes in cold wet environments create more condensation faster than either condition alone. If you're shooting in the mountains in rain, near glacial meltwater, or in coastal environments at altitude, you're dealing with both simultaneously.
The management principles for each condition apply together. Keep your camera at a consistent temperature. Don't move it rapidly between warm and cold spaces. Use a housing or rain cover for any direct water exposure. Keep silica in your bag. Air everything out when you have the chance.
On the Antarctica project, cold and wet were a constant combination for twenty days. Managing gear in that environment required daily attention, not occasional awareness. You build systems and you stick to them because the cost of a single mistake in a remote environment is too high.
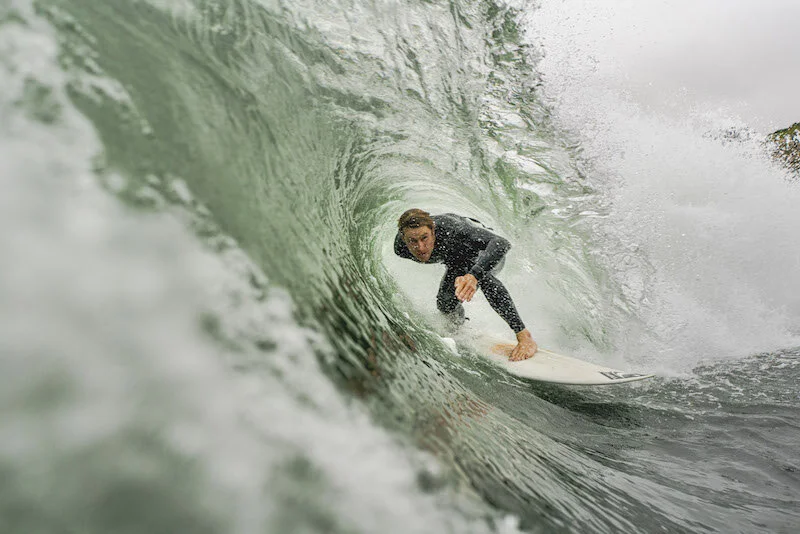
After the Shoot, Dry Everything Properly
What you do after a wet shoot matters as much as what you do during it. Wiping down your camera body and lenses with a dry cloth immediately after exposure is the minimum. For anything more significant, let your gear air dry completely before packing it away. Sealing wet gear into a bag traps moisture against the electronics and creates exactly the environment you're trying to avoid.
Check your lens mounts, battery compartments, and card slots specifically. These are the points where water finds its way inside a camera body that isn't fully sealed. A small amount of moisture in the wrong place causes corrosion over time that doesn't show up until months later when something stops working and you can't figure out why.
Reflection Questions
Do you have a water housing or rain cover in your kit right now, or are you hoping wet conditions don't show up on your next shoot?
Have you ever had gear damaged by moisture that built up slowly over a multi-day project rather than a single direct hit?
What's your current system for drying and checking gear after a wet shoot day?
If you shoot regularly in humid or wet environments, when did you last check your bag for moisture buildup?
This lesson comes from my The Adventure Photographer's Playbook and it costs $10. Why so cheap? The goal is to help as many new to mid level photographers as possible go from nothing to getting booked in 18 months:

The Adventure Photographer’s Playbook is an e-book created by full-time photographer Dalton Johnson to help new photographers go from nothing to booked in the adventure photography space.
This adventure photography e-book goes over the business and what “making it” as a photographer in the outdoor space requires. Covering topics such as pricing, marketing, building a body of work, reflection questions, and everything you need to know to make a career out of adventure photography.
Updated: June 2025
Read More From The Photographer’s Playbook


About Dalton
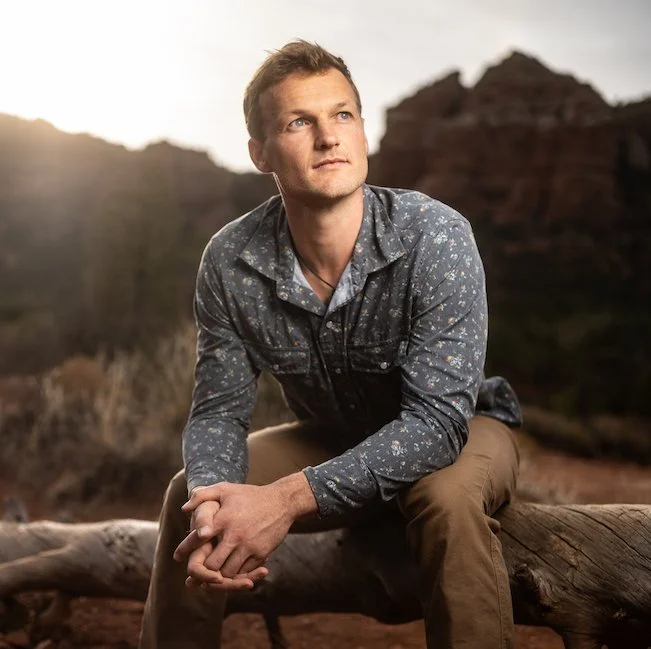
Dalton Johnson is a photographer, director, and writer (award-winning at all three) based in South Lake Tahoe, CA.
Over the last 10 years, Dalton’s creative work has taken him to every continent, above the arctic circle, and below the antarctic circle.
Getting out of the car, today’s walk was going to be short and full. Kristin and Chestnut were joining me for the evening stroll. Yes, it’s day two of my personal challenge to go for a daily photo walk, and this one was a close call. Today was filled with an afternoon of chores; taking Chestnut to the vet, donating stuff to Goodwill, and more boring things like that. The real life of a photographer, am I right?!