UnBound
For those seeking their next outdoor adventure


The Ultimate Visitors Guide To Lake Tahoe's Bonsai Rock
For the last decade, I have called Lake Tahoe my home and there are few spots that I return to several times throughout a year. However, Bonsai Rock, on the northeast shore of the lake, is one of those places.

A Bob Ross Like Morning At Wild Willy Hot Springs In Mammoth, CA
Before the sun rose, we had our shorts on, bags packed, and towels slung over our shoulder. Andrew has the behemoth Muse Roamer that allows for a very plush life on the road, meanwhile I have modest comforts with a converted van. So, I crawled out of the van and headed into the heated Muse Roamer to enjoy coffee to wait for the best lighting.

Testing Peak Design's Outdoor Bag Photographing Blue Whales in Loreto, BCS
For two months, the Peak Design Outdoor 45L Pack sat on my shelf. Its design intimidated me: no traditional clips, a roll-top, and an array of dangling cords. I’ve packed hundreds of bags, but I couldn’t figure out where to start with this one. I shelved it for "later," waiting for the right opportunity. That opportunity finally arrived. I was heading to Loreto, Baja California Sur, for a quick trip to photograph whales. Carry-on only, no room for error.

The Tamron 150-500mm Was Always On My Camera While I Drove to Alaska, Here’s Why
When I drove to Alaska with my dad and later returned with my girlfriend Kristin, one thing remained constant: the Tamron 150-500mm lens was always attached to my camera. If there’s one thing you learn quickly on a road trip to Alaska, it’s that wildlife can appear at any moment. Whether it’s a bear lumbering along the roadside, an eagle soaring overhead, or a moose grazing in a meadow, you’re constantly surrounded by incredible opportunities for wildlife photography. Having the Tamron 150-500mm on my camera ensured I was always ready to capture those fleeting moments, no matter when or where they happened.
22 Gift Ideas for the Photographer In Your Life
Capturing moments in a frame is an art, and every photographer deserves tools that enhance their creative journey. Whether you're shopping for a novice shutterbug or a seasoned pro, this gift guide covers a spectrum of essentials, from cutting-edge camera gear to educational resources.

Drones Are Annoying, But They Also Provide Perspective While Traveling
Not too long ago, the incessant drone noise in the wilderness left me with a ringing in my ears and a distaste for the intrusive devices. However, I took an unexpected turn in my attitude towards drones when I decided to get one myself. I morphed from a critic into that person launching a drone into the air during my travels. Why? Because curiosity is a potent force when it comes to exploring new landscapes.
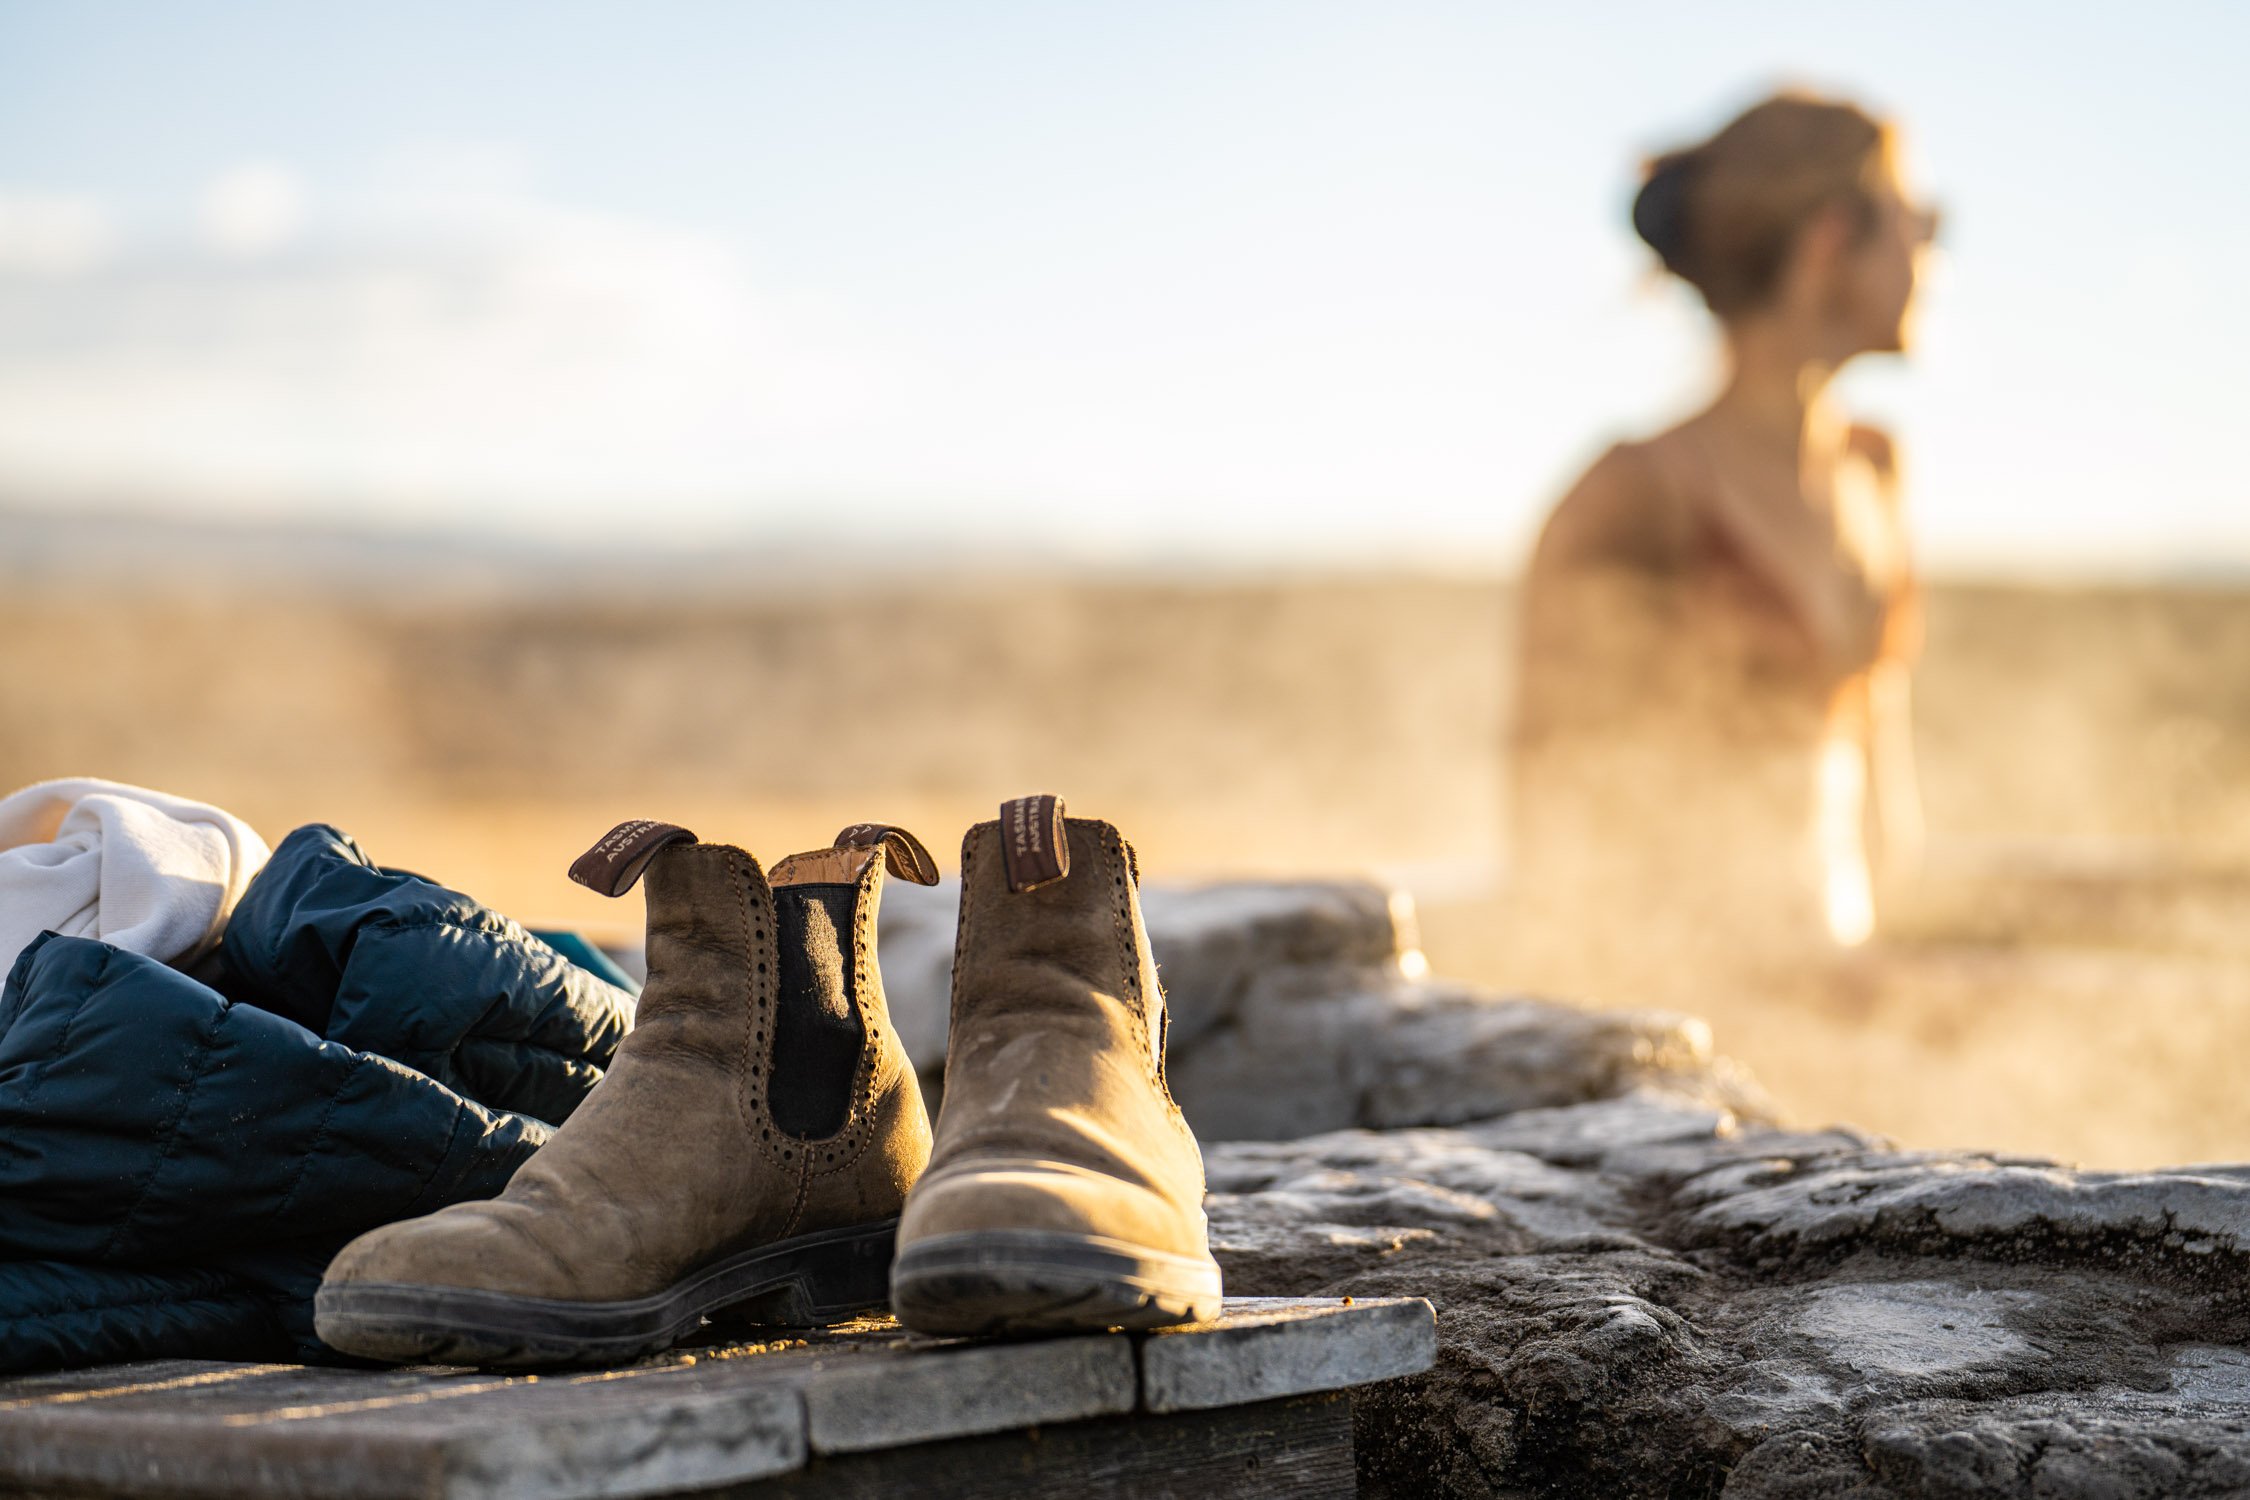
Creating Speculation Work for Blundstone Boots
I have been wanting to expand my lifestyle work to expand beyond the outdoor action sports field, so, I took a little bit of time and came up with a concept to shoot a speculation project for Blundstone Boots. This project was a good challenge for me as I had never photographed a shoe before. I have captured socks, but never shoes.